WEnRV travel news, products, and industry trends
How To Sanitize Your RV Fresh Water Tank
Your RV’s holding tanks need to be maintained properly for you to enjoy camping to its fullest. Most RVs have three holding tanks for fresh water, gray water, and black water. Only one is responsible for providing safe water for drinking, showering, and washing dishes: your fresh water tank.
To ensure it does that, it needs to be drained and sanitized regularly.
How Often Should You Sanitize Your RV Fresh Water Tank?
 Photo by Camping World
Some manufacturers recommend sanitizing your fresh water tank “after each use,” but this is interpreted in two ways. Most RVers sanitize their fresh water system each year, usually in the spring, when dewinterizing their RV to prep for spring camping.
Others perform this task every time their RV has sat unused for up to 2-4 weeks. Either way, this routine maintenance task guarantees safe water for drinking, showering, dishwashing, and laundry on the road. It doesn’t require special tools; you can do it with bleach or a more environmentally-friendly cleaning solution.
If you’re reading this before storing your RV for the season and want to know how to winterize it, watch this step-by-step tutorial on RV winterization.
What Do You Need to Sanitize your RV Fresh Water Tank
Click to view slideshow.You can always bring your RV into a Camping World Service Center to have your potable water tank sanitized, but the process doesn’t require any special tools.
Here’s what you’ll need:
Measuring cup Funnel 5-gallon bucket or water storage container Potable water hose Non-scented bleach or RV tank sanitizer (never use colored or scented bleach). Water tank filler (optional)Technician Tip: As long as it’s mixed with the correct amount of water to obtain the right ratio, bleach is safe for all the components of your RV’s water system, including the water pump.
In Camping World stores, the Aqua Pure brand is a bleach and water solution. The other brands are cleaners, not sanitizers. Bleach can be toxic if misused, so following the directions on the Aqua-Pure container make it easier and safer than working with gallon jugs and mixing your own.
How To Sanitize RV Fresh Water Tank with Bleach
Before draining your fresh water system, park your RV where water will percolate into the soil or run downhill safely. For example, don’t do this in an RV park if the slope will create a pool of water in your neighbor’s site.
Because you’ll eventually be draining flushing bleach or a cleaning solution out of your water system, your best choice is to park where you have access to a sewer connection and a fresh water source.
Follow these step-by-step instructions to sanitize your RV’s entire freshwater system:
Step 1: Turn Off Your Water Heater and Water Pump
 Photo by Camping World
Draining your freshwater system with the water heater on can damage the tank. Turn off your water heater and run hot water for a minute or so to run out heated water before you drain it. Running hot water for 1-2 minutes should be enough to remove hot water from the tank and allow it to cool before draining.
This is also the time to ensure your water pump is turned off. Opening all the faucets in your kitchen and bathroom will allow air to naturally assist in completely draining water from your freshwater system (similar to removing the cap on a car’s oil inlet before draining the oil).
Then, open the pressure relief valve and remove the plug or anode rod to drain the water heater tank. This is a good time to inspect your anode rod and replace it according to the manufacturer’s recommendation.
Make sure your gray water holding tank is empty before continuing. Or, if you’re in a good location to do so, you can set up your sewer connection to an outlet so that you can empty your holding tanks easily when the time comes.
Step 2: Drain The Fresh Water
 Tank Drain Photo by Camping World
Skip to step 3 if your tank is already empty because you drained it when winterizing your RV.
Locate the fresh water tank drain and low-point drains for your RV’s plumbing lines underneath your coach. Most RVs have a drain directly underneath your freshwater tank. Some have multiple drains for the cold water system, depending on the locations of the low points in your coach’s plumbing.
These drains are sometimes easy to identify by red (hot water) or blue (cold water) drains coming out of the bottom of your RV, but some manufacturers use white or opaque PEX.
Consult your owner’s manual if you’re having trouble locating these drains on your RV.
Once you’ve located them, open the low-point and tank drains to use gravity to drain water from your freshwater tank, plumbing lines, and hot water tank.
Technician Tip: Now is a great time to check your freshwater tank’s hose clamp on the filler tube. This clamp must be tight before your freshwater tank is filled, and it can sometimes be left loose on new RVs. You’ll find this clamp on the side of your freshwater tank closest to the fill inlet. On some travel trailers, the water tank will be in an underneath storage compartment, or it may be located under the bed of smaller trailers.
Step 3: Calculate the Amount of Bleach You’ll Need
 Photo by Camping World
While your system is draining, calculate how much bleach you’ll need to sanitize your system. You’ll need about a 1/4 cup of bleach for every 16 gallons of water your fresh water tank holds. Another helpful ratio for your calculator is to use one ounce of bleach for every eight gallons of freshwater.
Measure the appropriate amount of bleach for your RV based on these ratios. For example, if you have a 20-gallon freshwater tank, you’d need roughly 2.5 ounces of bleach to sanitize your system. Once there’s no longer any water draining from your low-point valves, close them.
Step 4: Add Bleach Mixture to Your Fresh Water Tank
 Photo by Camping World
STOP!! Don’t add the bleach straight to your freshwater tank. Dilute it in at least a gallon of water and use your funnel to pour your bleach mixture into the freshwater inlet on the side of your RV.
Technician Tip: If your RV has an overfill vent on the freshwater inlet, you may not be able to pour in bleach solution using a funnel. In this case, pour the solution into your hose and hook it up to a water source to get the bleach into your tank.
Step 5: Fill the Tank with Potable Water and Pump It Through The System
 Photo by Camping World
The next step is to fill your tank with clean water. Connect your water hose to a freshwater connection and fill your tank completely so that it mixes your bleach dilution through the entire tank.
Technician Tip: You may also consider using an RV water filter when filling your tank to use the cleanest water possible when sanitizing your tank.
Once your tank is full, replace the cap on your freshwater inlet. Next, you’ll need to circulate the bleach solution throughout the plumbing lines.
Go inside your RV and turn on your water pump. Then open all the faucets and showerheads and allow the bleached water to run through every part of your freshwater system for 2-3 minutes. It’s okay to have a trace amount of bleached water in your gray tank for 12-24 hours, but no longer.
Once the water has circulated for several minutes, you can close the faucets and shut off your water pump again.
Step 6: Let The Water Sit For 12-24 Hours
 Photo by Camping World
Proper tank sanitization doesn’t happen immediately. Let your mixture of clean water and bleach sit in your tank and plumbing lines for 12-24 hours before draining it. If you start this process in the afternoon, just let it sit overnight and come back in the morning.
WARNING! Don’t let the bleach mixture sit for more than 24 hours.
Step 7: Drain the Tank
 Photo by Camping World
After at least 12 hours (but no more than 24), it’s time to drain the system. Your best bet is to have full hookups for this process. If you’re using bleach, it’s recommended to avoid draining your tank into the soil, as it can harm plant life and degrade soil health.
One solution is to place a five-gallon bucket or a portable RV holding tank under your low-point valves to collect your bleach mixture and dispose of it into an appropriate sewer inlet, such as those at RV dump stations.
But the best option is to turn on your water pump, open all your faucets (plus the shower), and let the water move through the system and into your gray water tank, provided you’ve already hooked it up to a sewer connection.
Technician Tip: Bleach and rubber aren’t best friends, so don’t let this solution sit in your gray holding tank. But running it through as you flush the system isn’t likely to cause damage and can also partially sanitize your gray tank simultaneously.
If you run your bleach mixture through your plumbing system and into your gray water tank, it’s still best to open the low-point valve after you shut off your water pump. This allows your freshwater tank to drain completely and prevents a small amount of water and bleach from getting left behind.
Another option is to drain them the same way you initially drained your tanks to prepare for sanitization. Open the low-point valve (or valves) and allow the water to drain completely. But you should only do this if using an environmentally friendly cleaner (i.e., not bleach).
Step 8: Flush The System
 Photo by Camping World
Your final step is to refill your tank with fresh water and circulate it through the system with your water pump. Open all the faucets and flush the system until you can no longer smell the bleach. At this point, you can leave the handle for your gray water tank open so the system remains open as you flush the remaining bleach solution.
You may need to refill the tank and flush it several times until the smell of bleach is long gone. This ensures you have eliminated all sanitizing chemicals from the system and are ready to use the water in that tank again.
Technician Tip: If your RV is equipped with an onboard water filtration system, replacing your filters after sanitization is a good idea. You can learn more about how to get clean drinking water in your RV here, including details on water filters and water quality.
After you’ve replaced those filters, you should be ready for another full year of camping. If you’re not heading out for a trip immediately and overnight temperatures will stay above freezing, leave your tank empty until you actually need water inside your RV.
How To Sanitize RV Fresh Water Tank Without Bleach
 PC Camping World
If you don’t want to use bleach, there is a more environmentally-friendly way to sanitize an RV freshwater tank. You will follow the same basic steps outlined above, but substitute a biodegradable cleaner for the bleach mixture in step three.
Technician Tip: Make sure any RV freshwater tank sanitizer you choose is approved by your RV’s manufacturer, and you follow the instructions carefully to use the correct quantity for the size of your freshwater tank.
Best RV Fresh Water Tank Sanitizer
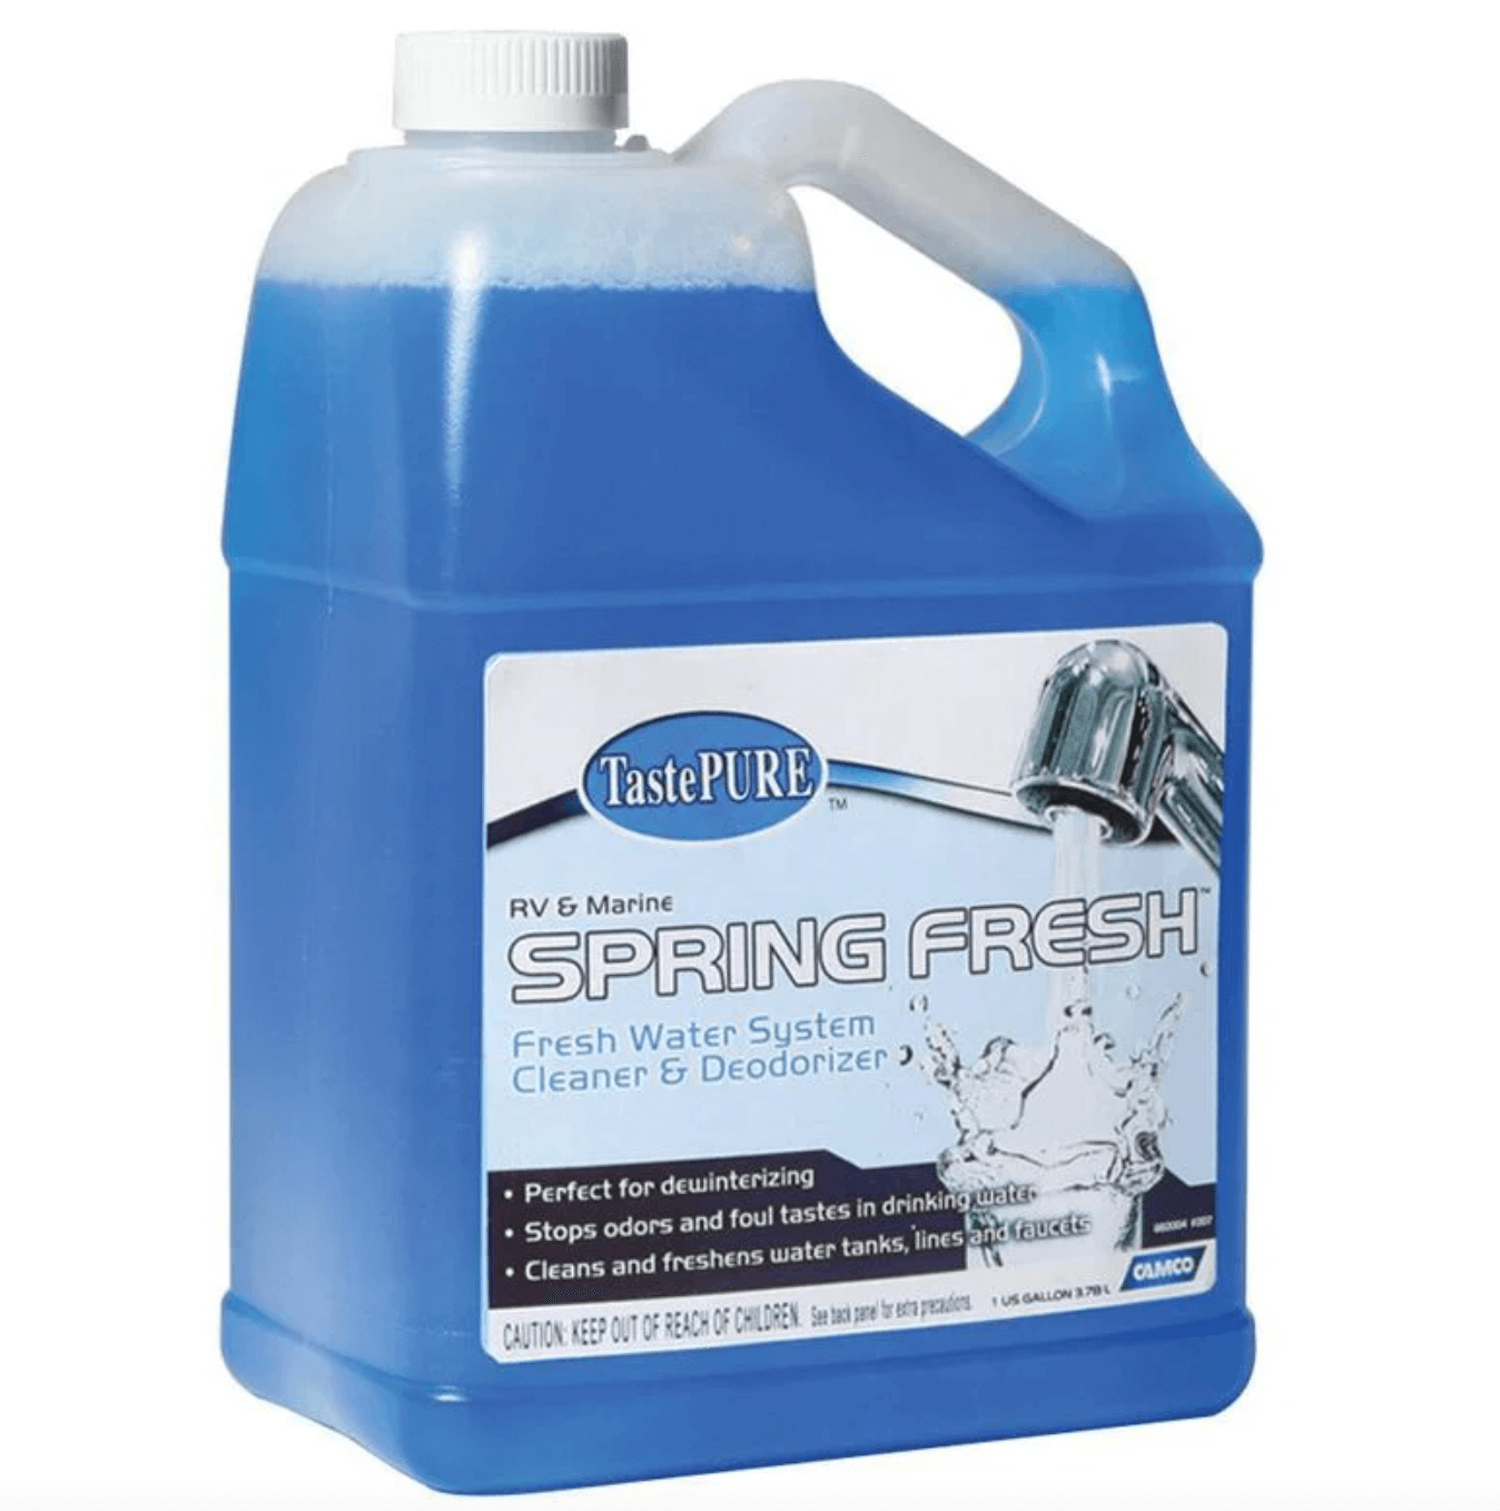
TastePure Spring Fresh is a cleaner but not a sanitizer. It helps with odors but may not kill parasites or bacteria. If you’re looking for a complete freshwater tank sanitizing solution, we recommend checking out this all-in-one kit from Thetford. It’s an easy two-part system to clean and sanitize your freshwater tank while removing harmful bacteria so you can enjoy safe water on all your upcoming RV adventures.
Make sure any RV fresh water tank sanitizer you choose is approved by your RV manufacturer, and follow the instructions carefully to use the correct quantity for the size of your freshwater tank.
Fresh water isn’t something to take for granted when RVing. Luckily, this sanitization process is easy, and you only need to do it once a year to get back to enjoying the benefits of living in an RV.
What’s been your experience sanitizing your RV’s fresh water system? Leave a comment below!
Download Camping World’s RV ownership and maintenance booklet to track all your RV’s seasonal maintenance needs!

Copyright
© Camping World